Photo mode tips for better car screenshots
Many driving games include a photo mode that turns the game into a virtual camera. These tips cover angles, lens settings and light for more striking car shots.
Why photo mode is worth exploring
Photo mode pauses the game and gives you a free camera, often with settings borrowed from real photography. For car fans, it is a way to appreciate the design of a vehicle and the world around it. Some players spend as much time composing shots as they do driving.
You do not need photography experience to start. A few basic ideas go a long way, and experimenting is part of the enjoyment.
Camera angles that flatter a car
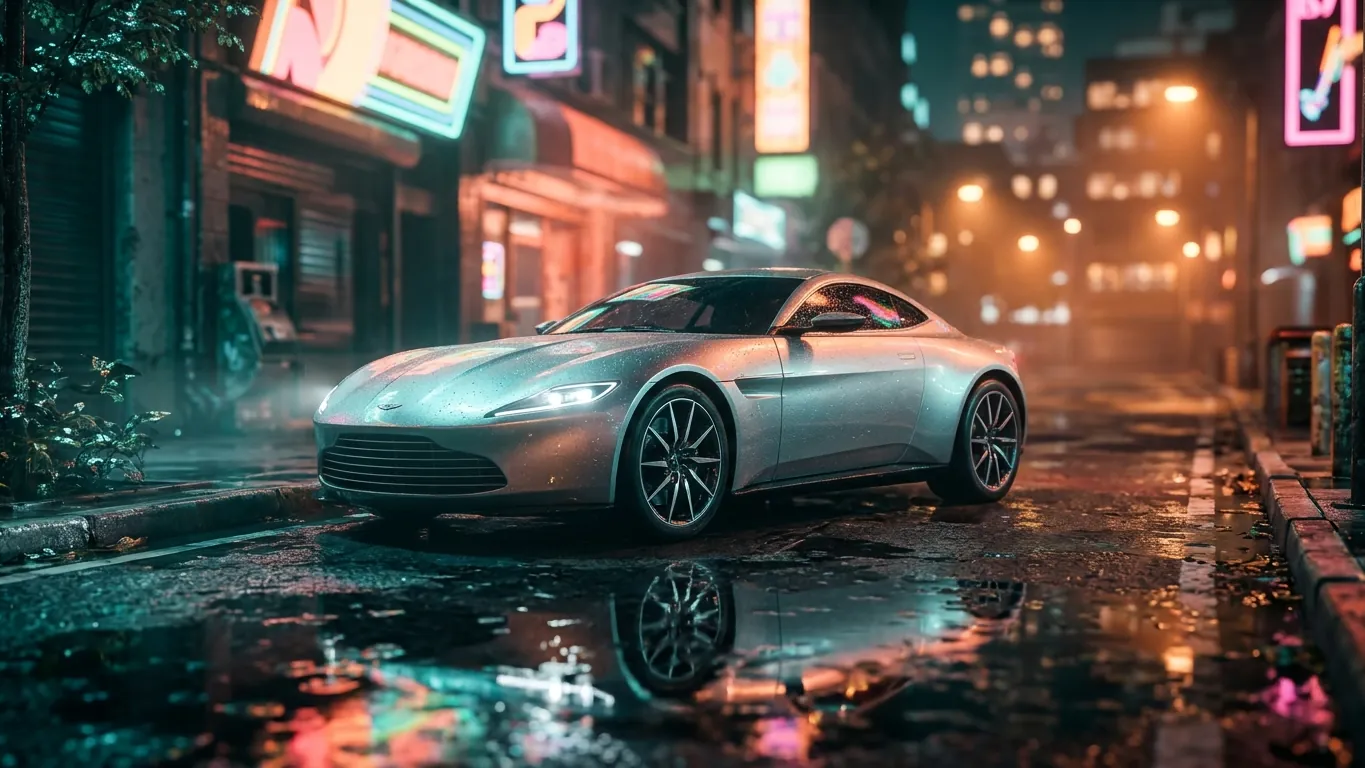
A low camera, placed near the height of the headlights, tends to make a car look more powerful and planted. A three-quarter view, showing the front and one side, usually reveals the most of its shape. Straight side profiles work well for long, low cars, and rear three-quarter views emphasize the stance.
Try moving the camera slightly and comparing results. Small changes in height or angle can make a big difference in how the car's lines read.
Focal length and depth of field
Many photo modes let you change the field of view or focal length. A wide view fits more scenery but can distort the car if you are close. A narrower view, similar to a telephoto lens, compresses the background and keeps the car's proportions natural.
Depth of field controls what stays sharp. Blurring the background helps the car stand out. Use it moderately; too much blur can make a scene look artificial. Set the focus point on the part of the car you want viewers to notice first, such as a headlight or badge-free front grille.
Working with light and weather
Light shapes every image. Early morning and late evening often give warm, soft light with long shadows. Overcast skies produce even lighting that suits detailed shots. Night scenes with wet roads create reflections that add depth.
If the game lets you change the time of day, try the same composition at different hours. You will quickly notice how much the mood changes. Exposure and contrast sliders can help, but small adjustments usually look more natural.
A quick checklist before you capture
- 01
Clean up the frame
Check edges for distracting objects and adjust the camera to remove them.
- 02
Level the horizon
A tilted horizon can look accidental unless it is a deliberate choice.
- 03
Choose the focus point
Decide what should be sharpest and set focus there.
- 04
Try motion
For moving shots, a slower shutter setting can blur wheels and background for a sense of speed.
- 05
Take several versions
Capture a few variations and pick your favorite afterward.
Related articles
 Clean racing online: a guide to multiplayer etiquette
A guide to clean online racing: first-lap caution, fair overtaking, giving space, rejoining safely and keeping multiplayer driving games friendly.
Read more
Setting up a comfortable gaming corner at home
Practical ideas for creating a comfortable home gaming corner for driving games: seating, screen position, cable management, lighting and small details.
Read more
 Racing lines explained for new players
Learn what a racing line is, how braking points work and how to practice one track at a time in racing games, explained in plain language.
Read more